Dellie
Blog
Dellie
Blog
Making of · 27 Sep – 2 Oct 2026 · 7 min read
How the Dragon Bridge lamp got its light
Fifteen versions in six days, and the test that finally worked was a plain yellow tube.
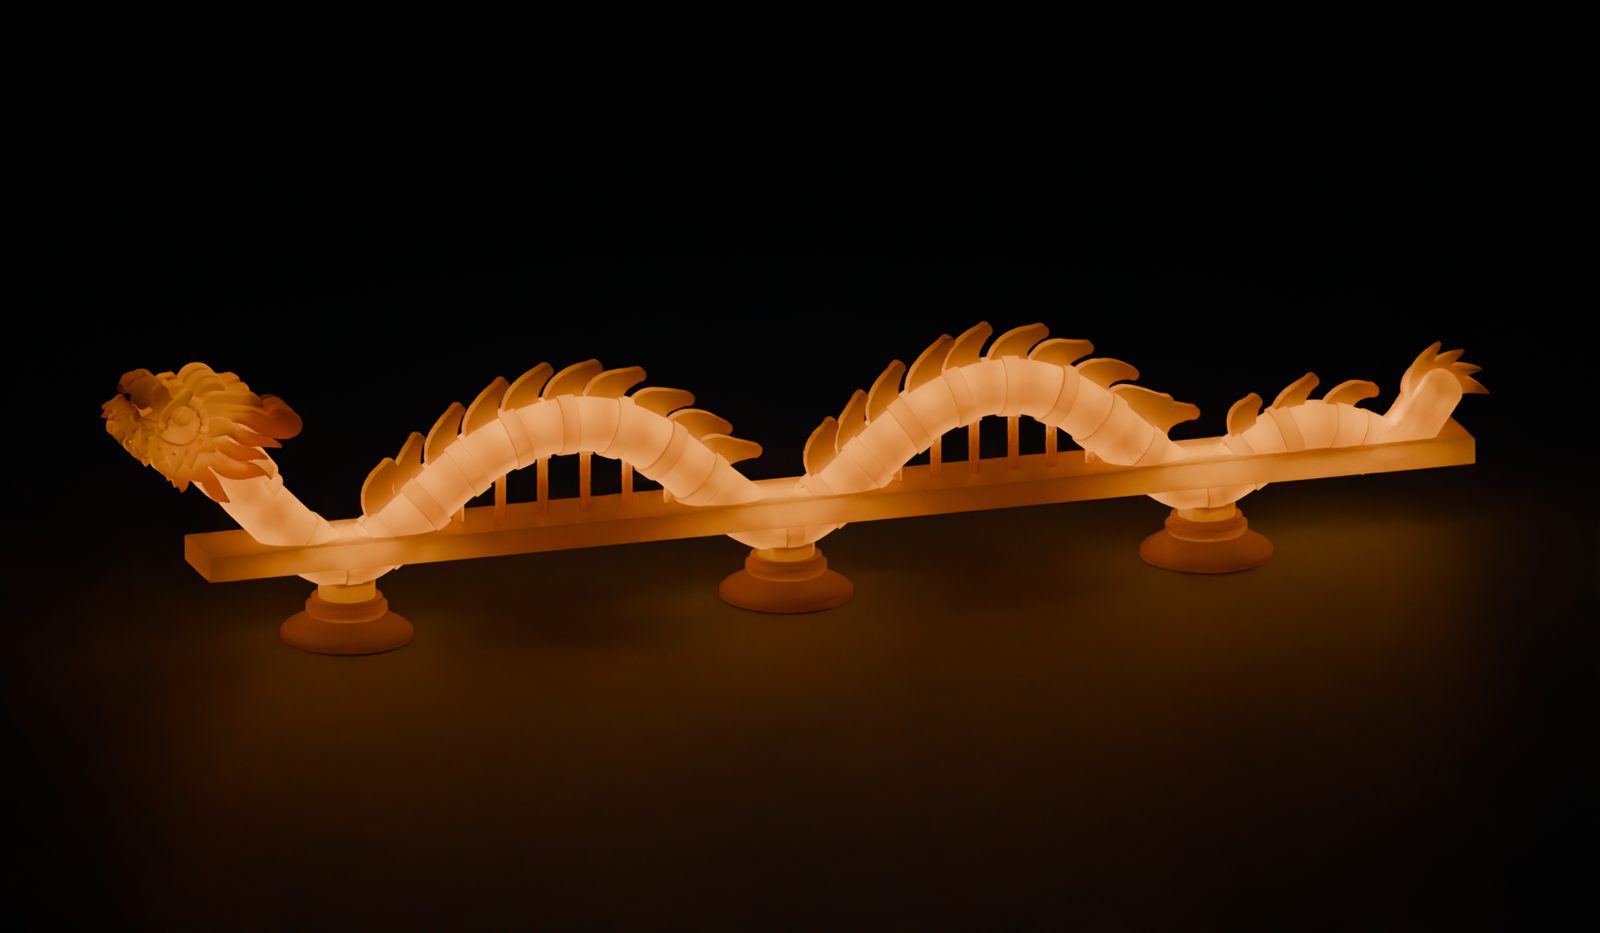
PrototypeThe light route works. A whole lamp, version 15, has been printing since 2 Oct: about 18 hours.
A bridge for a desk
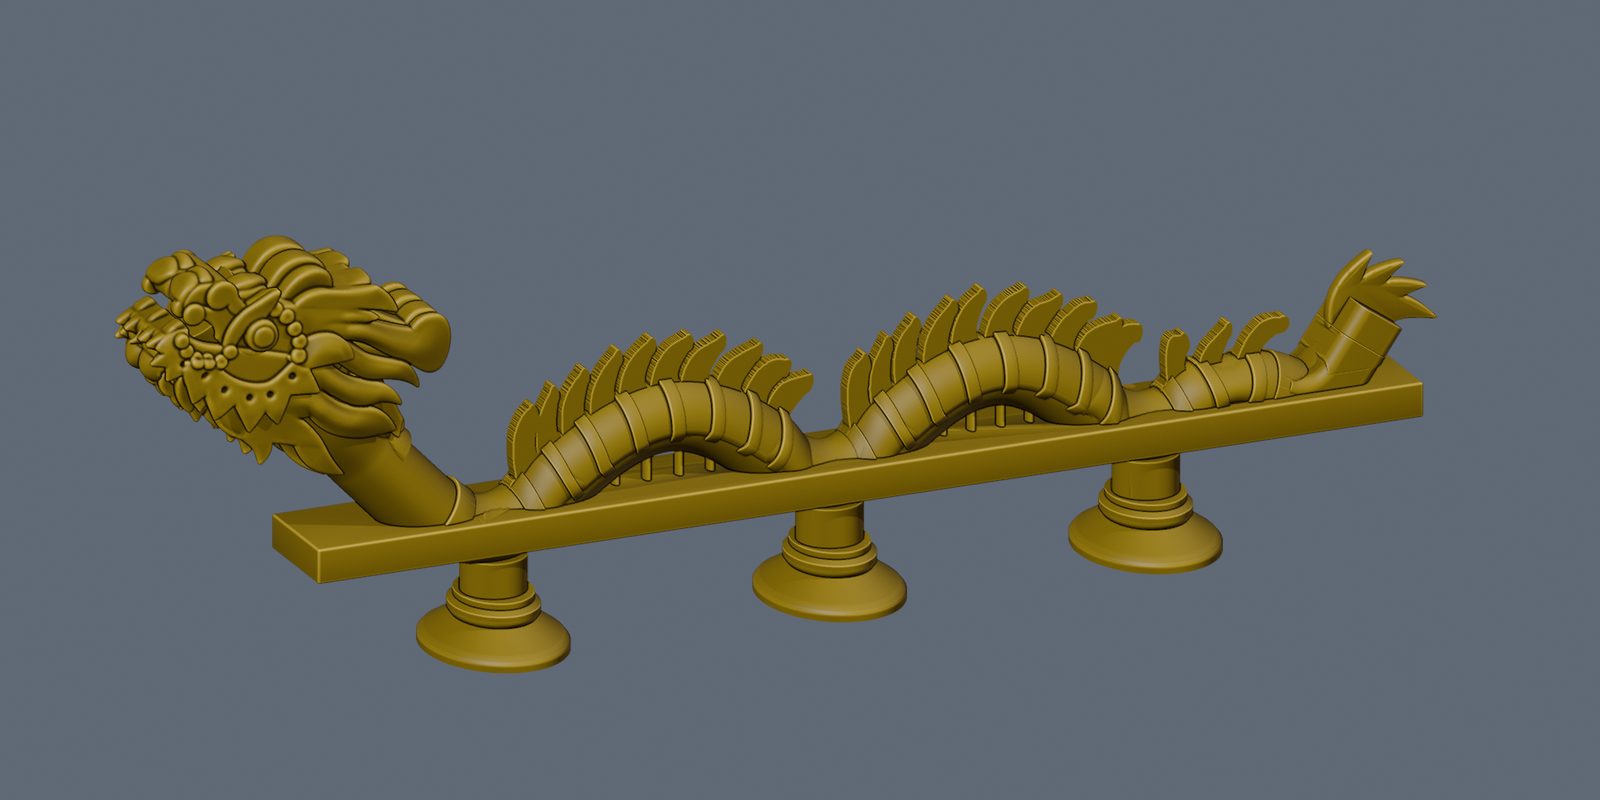
Da Nang’s Dragon Bridge, Cầu Rồng, is a steel dragon about 666 metres long that crosses the Hàn river. We wanted it small enough for a desk, with the light inside the dragon’s body.
The rules were our workshop: one Bambu Lab A1 printer, one spool of translucent lemon-yellow plastic, and a 50 cm USB LED strip threaded through the dragon. No glue seams, no boxes stuck on the side.
We started from a rough 3D model made with an AI tool, Meshy 7. It was closed and printable, but lumpy. We had it redrawn three ways and picked the one Claude made, with its sculpted head.
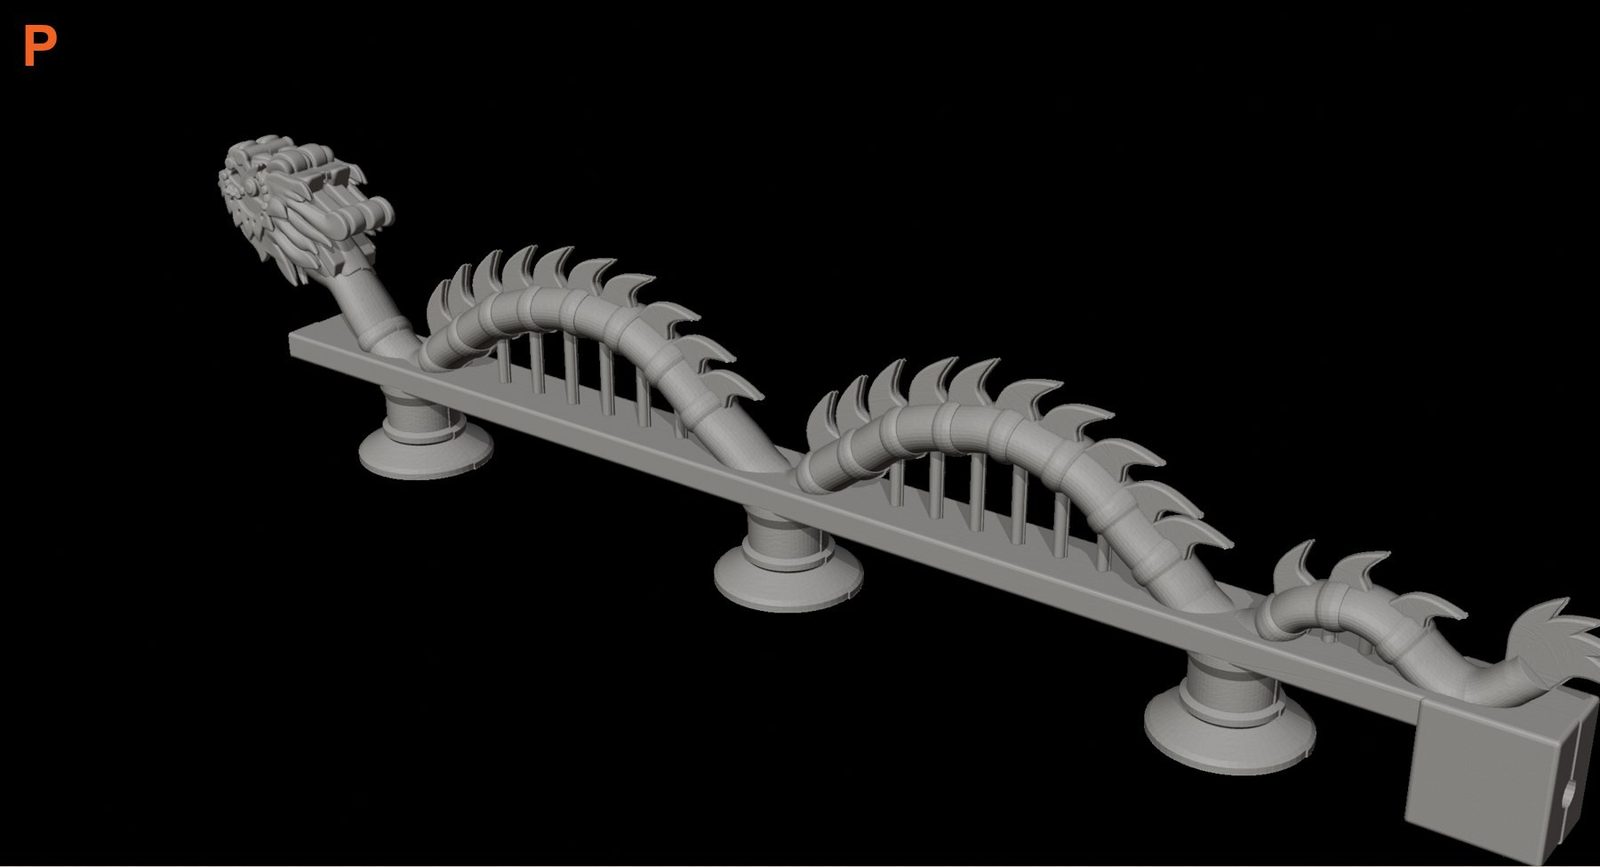
The first plan was to print the dragon in two long halves and glue them together around the strip. I said no: two long, decorated halves never line up cleanly, and the seam would show on the very thing people look at. So the body became one continuous piece, with only small lids where the strip goes in.
Bricks on a dragon
If only the middle glowed, the head and tail would vanish at night, and they are what makes it the Dragon Bridge. So the light had to reach both ends.
The first way in at the tail was a block with a terminal, a tower and a big cover. It worked on screen and looked like hardware bolted onto a sculpture.
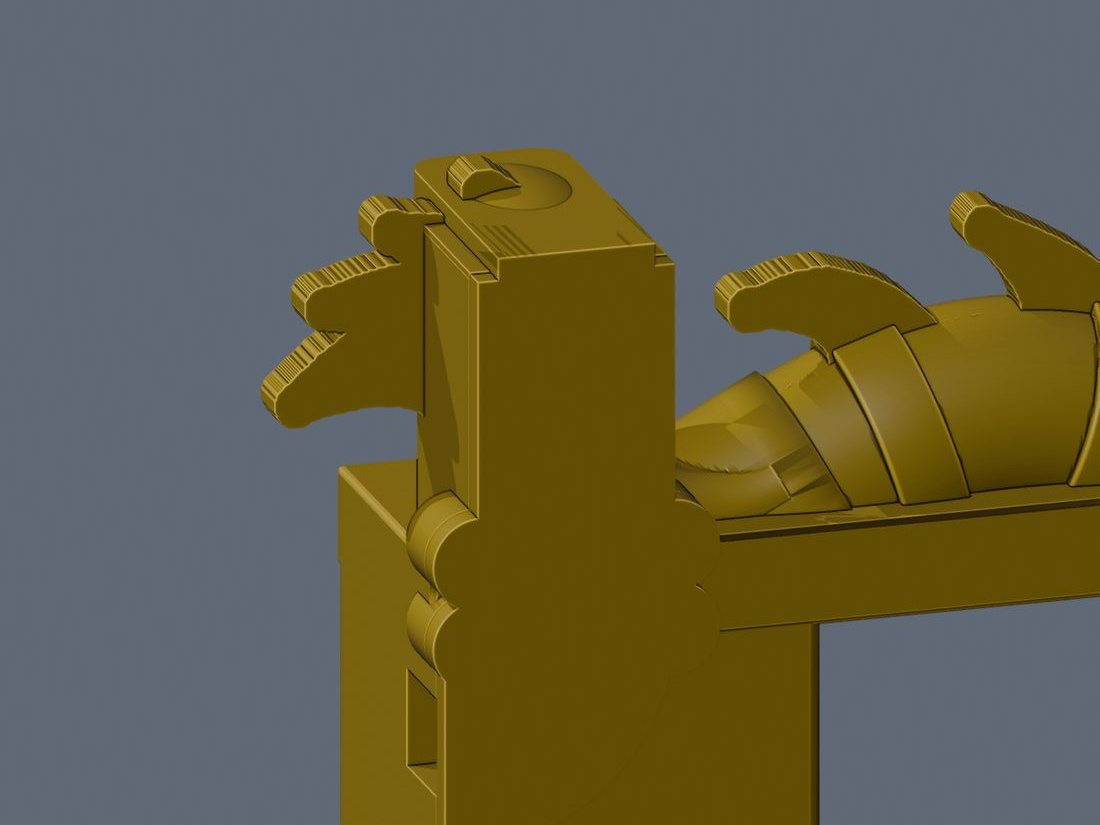
“Why all these bricks? Why not a simple hole and a lid?”
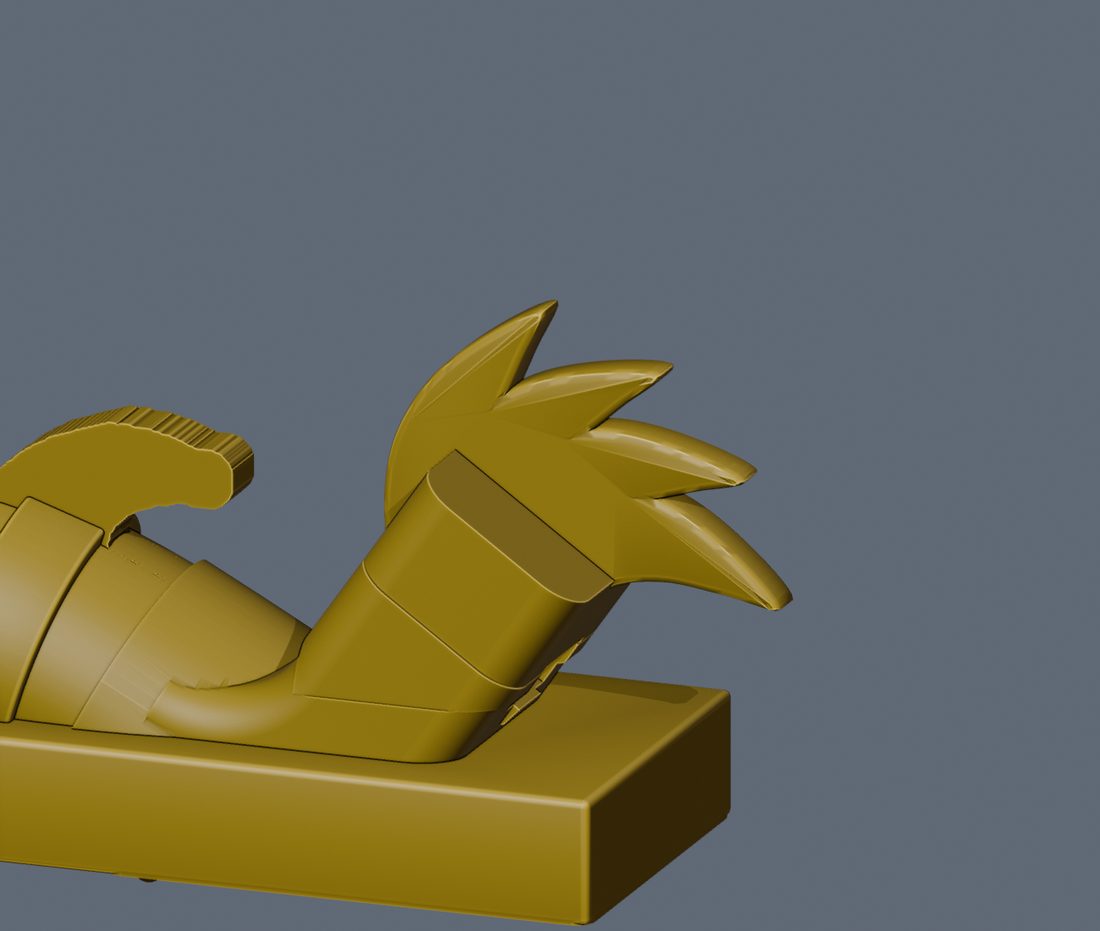
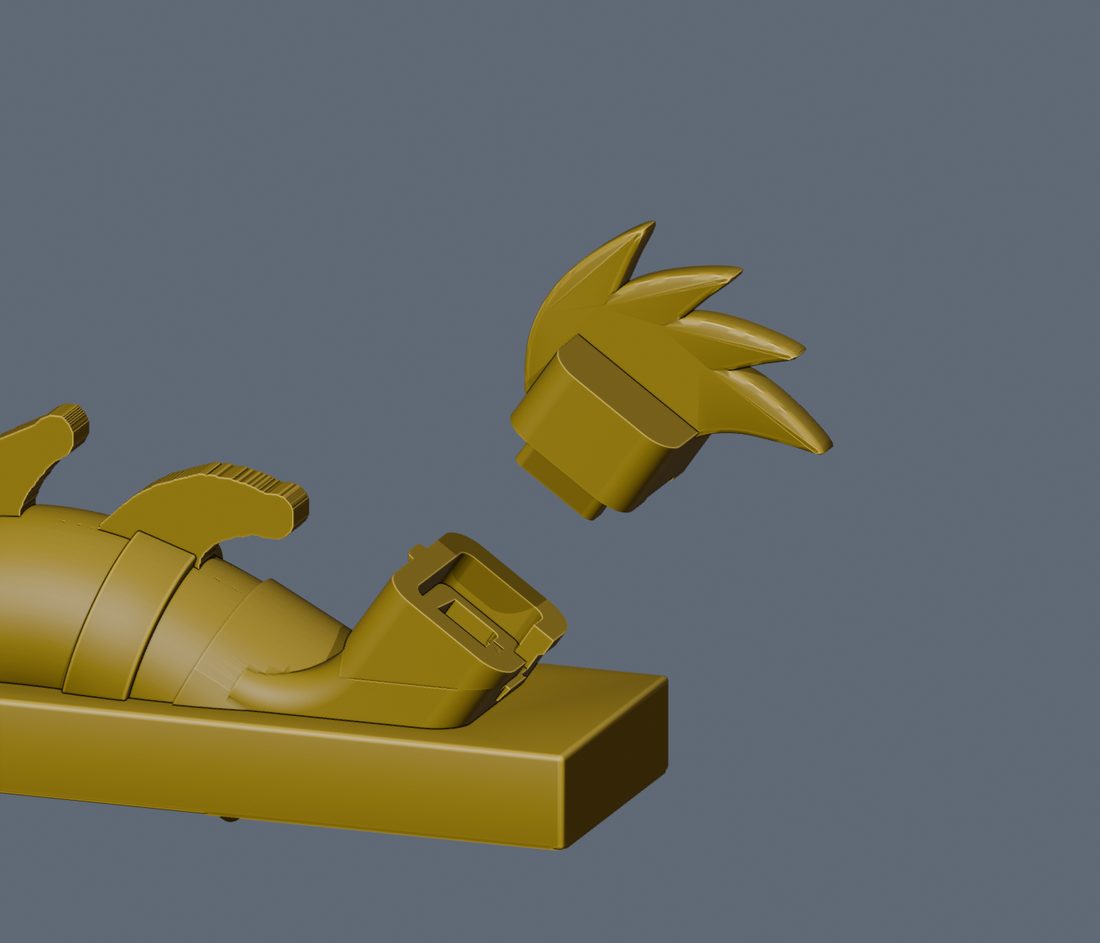
It took four more tries: a cap along the tail, a small round plug, a tube end. Then, in version 8, the answer was already on the model. The dragon’s own flame-shaped tail tip became the lid. Pull it off and there is a straight opening for the strip; push it back and the dragon looks whole. The cable slips out through a notch underneath. The head got a small plug of its own.
What the printer said
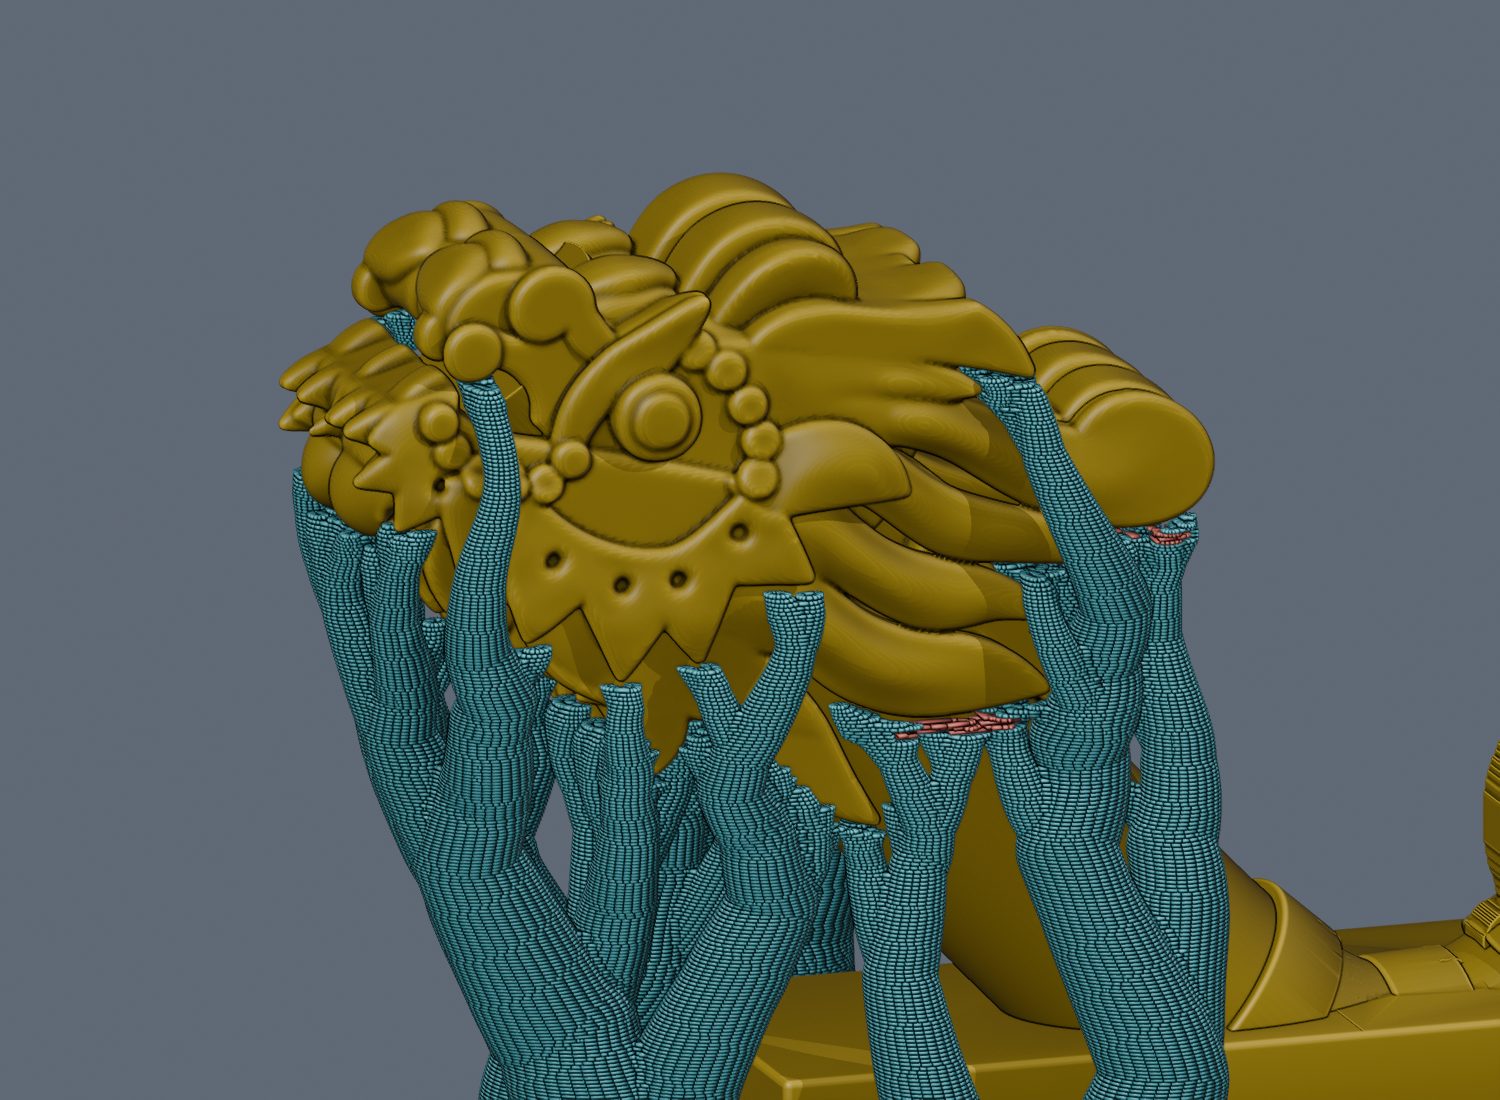
Before spending a whole day on a full lamp, I printed only the head and tail. The supports were hard to pull off, the details were small, and loose strands of plastic hung inside the channel.
So version 5 left a bigger gap between the supports and the dragon. They came off more easily. Version 6 tried the opposite, with more and tighter supports, and they were harder to remove for no visible gain. My hands overruled the settings that looked more thorough, and we went back to the easy ones.
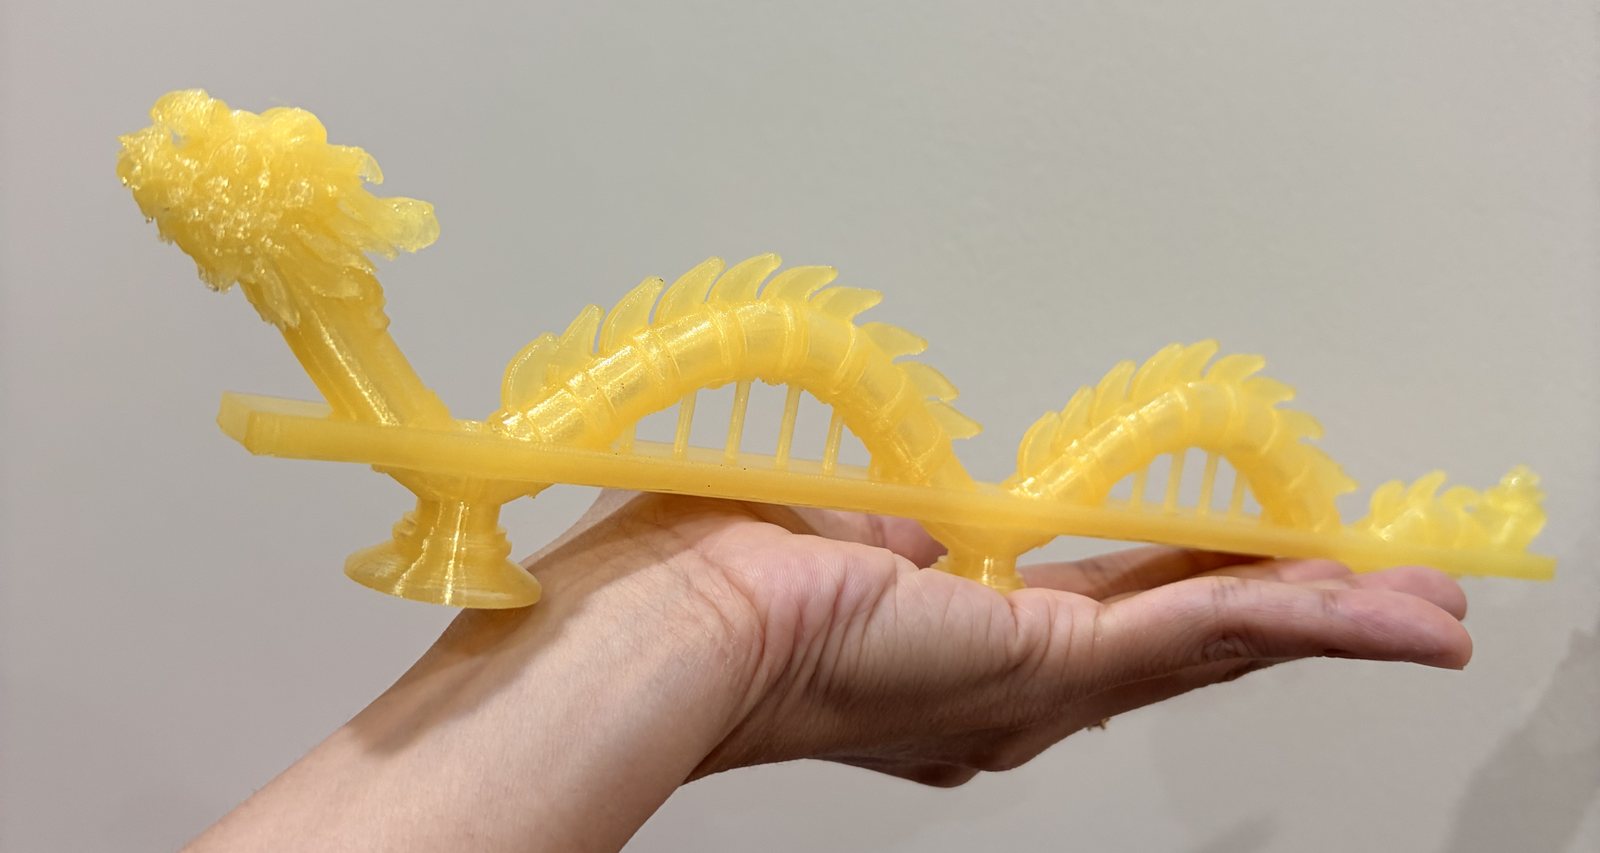
The lamp also grew, from 24 to about 30 cm. The printer’s bed is only 25.6 cm square, so the lamp prints corner to corner. Friends then asked for a taller, fuller dragon, so version 13 grew to about 30 cm long and 9 cm tall, with a bigger head.
The strip had other plans
On screen the channel was wide enough. The real strip disagreed: it is soft, and its tiny lights stick up and catch. It couldn’t even turn into the side entrance at the tail, which is why the tail tip became a straight way in.
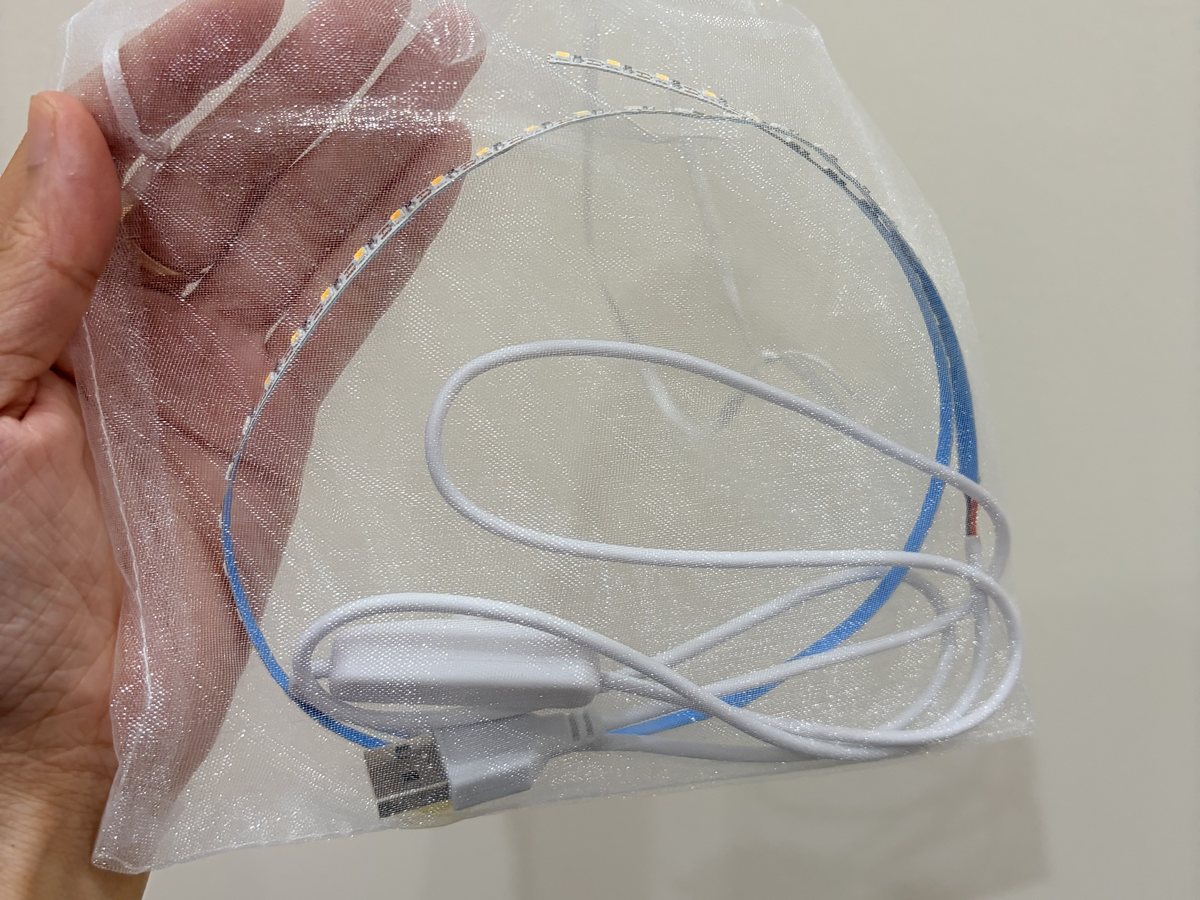
The bigger problem was the waves. The tunnel inside follows every curve of the dragon, tail to head:
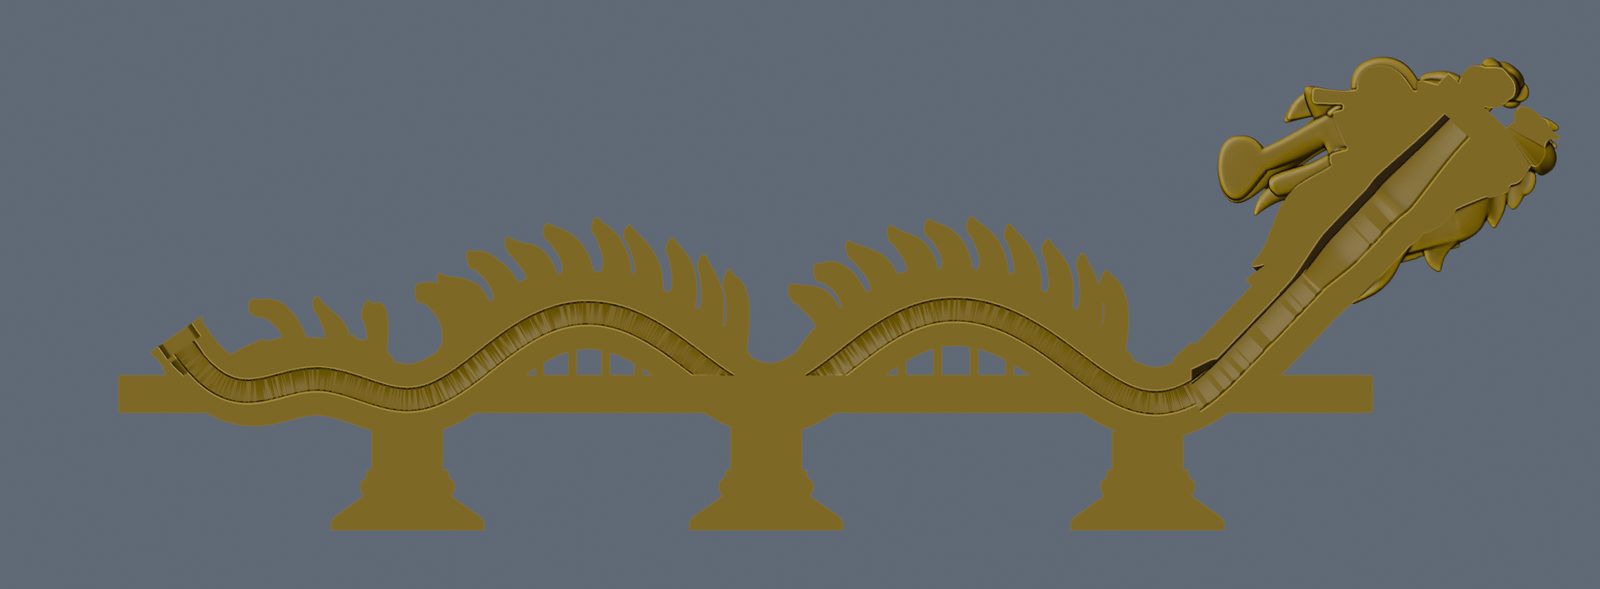
Push a soft strip through a curvy tunnel and it buckles, like pushing a rope. Guitar strings to pull it through got stuck too, and widening the channel in versions 11 and 12 didn’t help.
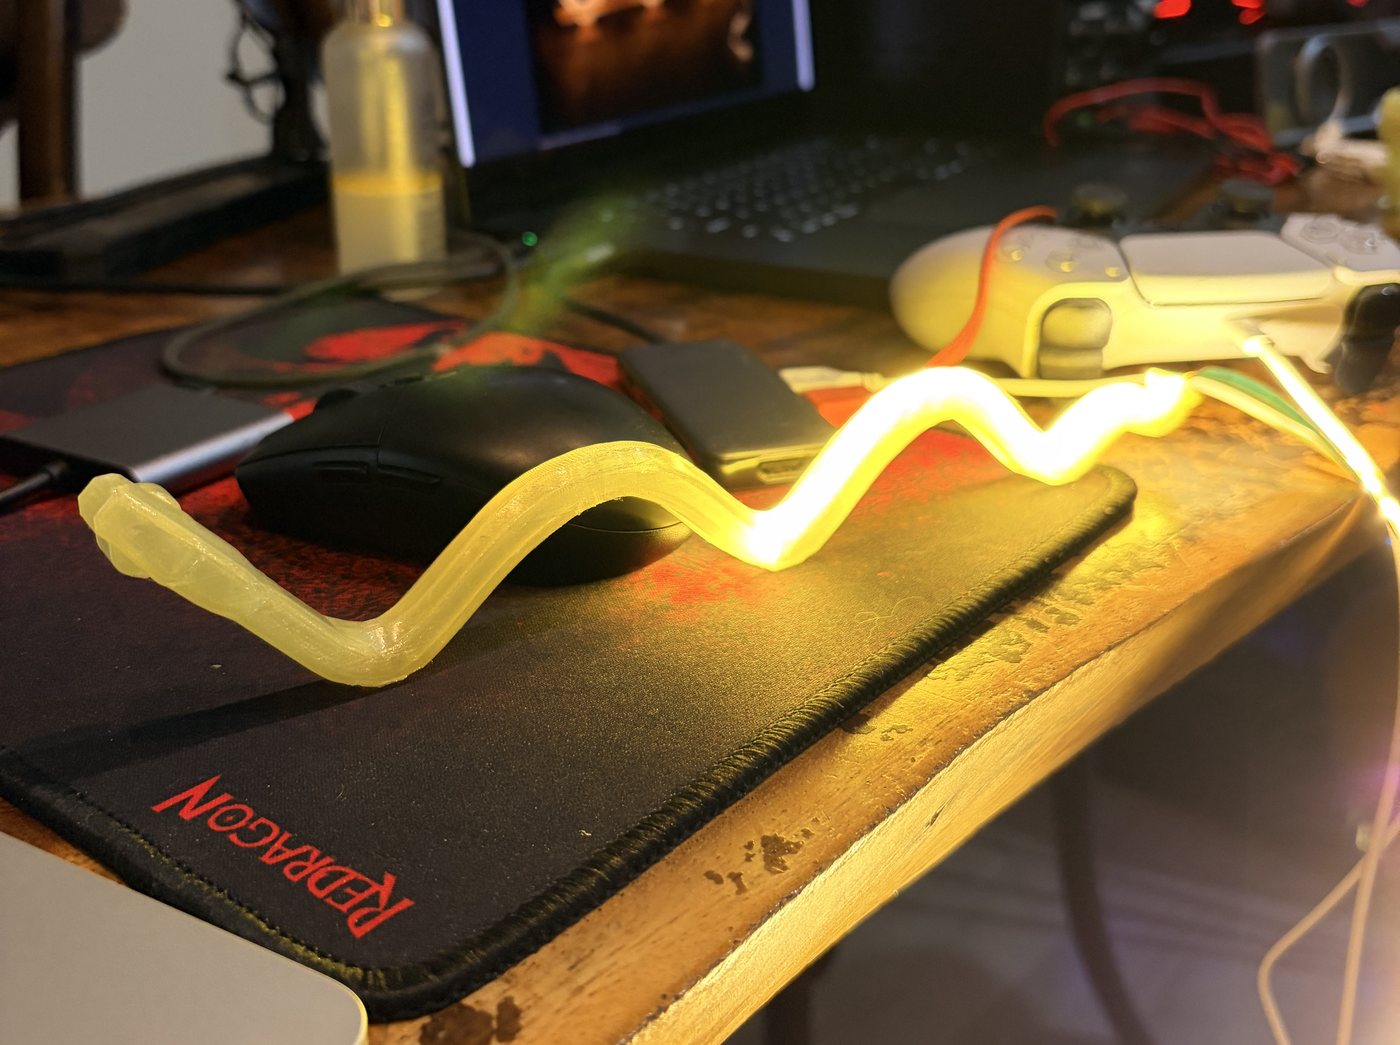
So I asked the AI to work the problem through TRIZ.
Four ways out came from it:
- Pull, don’t pushA thread first, drawn through by suction or a magnet, then the strip.
- Pause the printLay the strip, or a pull thread, inside halfway through.
- Open the backA long cover or small windows, at the price of seams.
- A gentler tunnelWider, with softer bends, so less catches.
Pausing wouldn’t work: standing up, no single layer shows the whole route. We chose the plainest, and the closest to the ideal result because it adds nothing: a gentler tunnel, tested on its own.
Print only the guts
Short test pieces had answered small questions, but never the real one: can the strip travel the whole way? So I asked for just the tube, tail to head, with no bridge, no feet and no dragon around it. Three hours of printing instead of eighteen.
For version 13 the AI also redrew the tunnel itself, while the dragon got fuller:
| The tunnel | Version 12 | Version 13 |
|---|---|---|
| Length | 331 mm | 312 mm |
| Tightest bend (radius) | 8.3 mm | 10.9 mm |
| All the turning, added up | about 560° | 470° |
| Room for the strip, all the way | only in places | 9 × 5 mm |
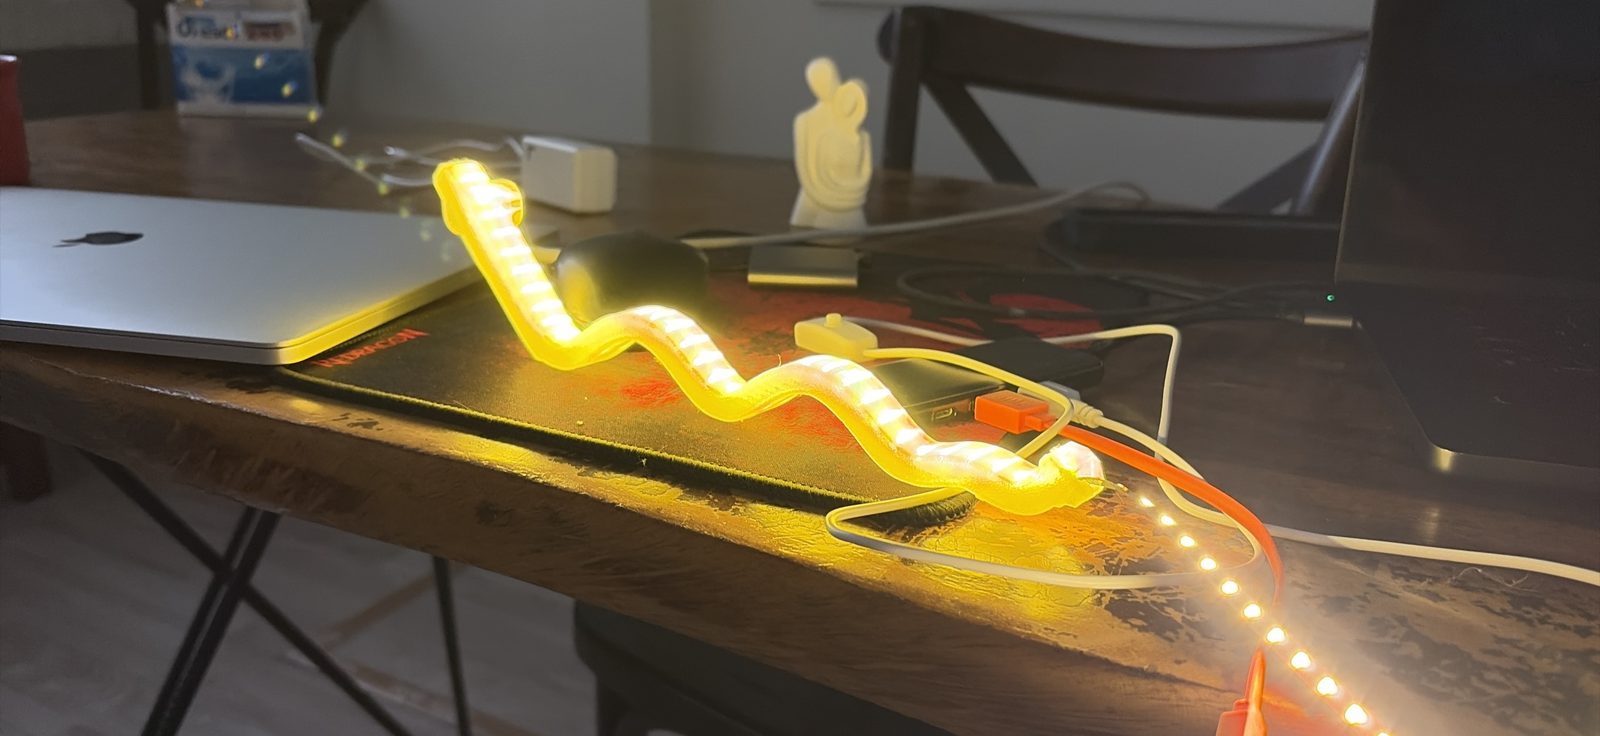
“Yes, that worked!”
It was the moment of the whole project. Days of pushing, guitar strings and wider holes, and the fix was a gentler road, found by testing the road on its own.
Standing up
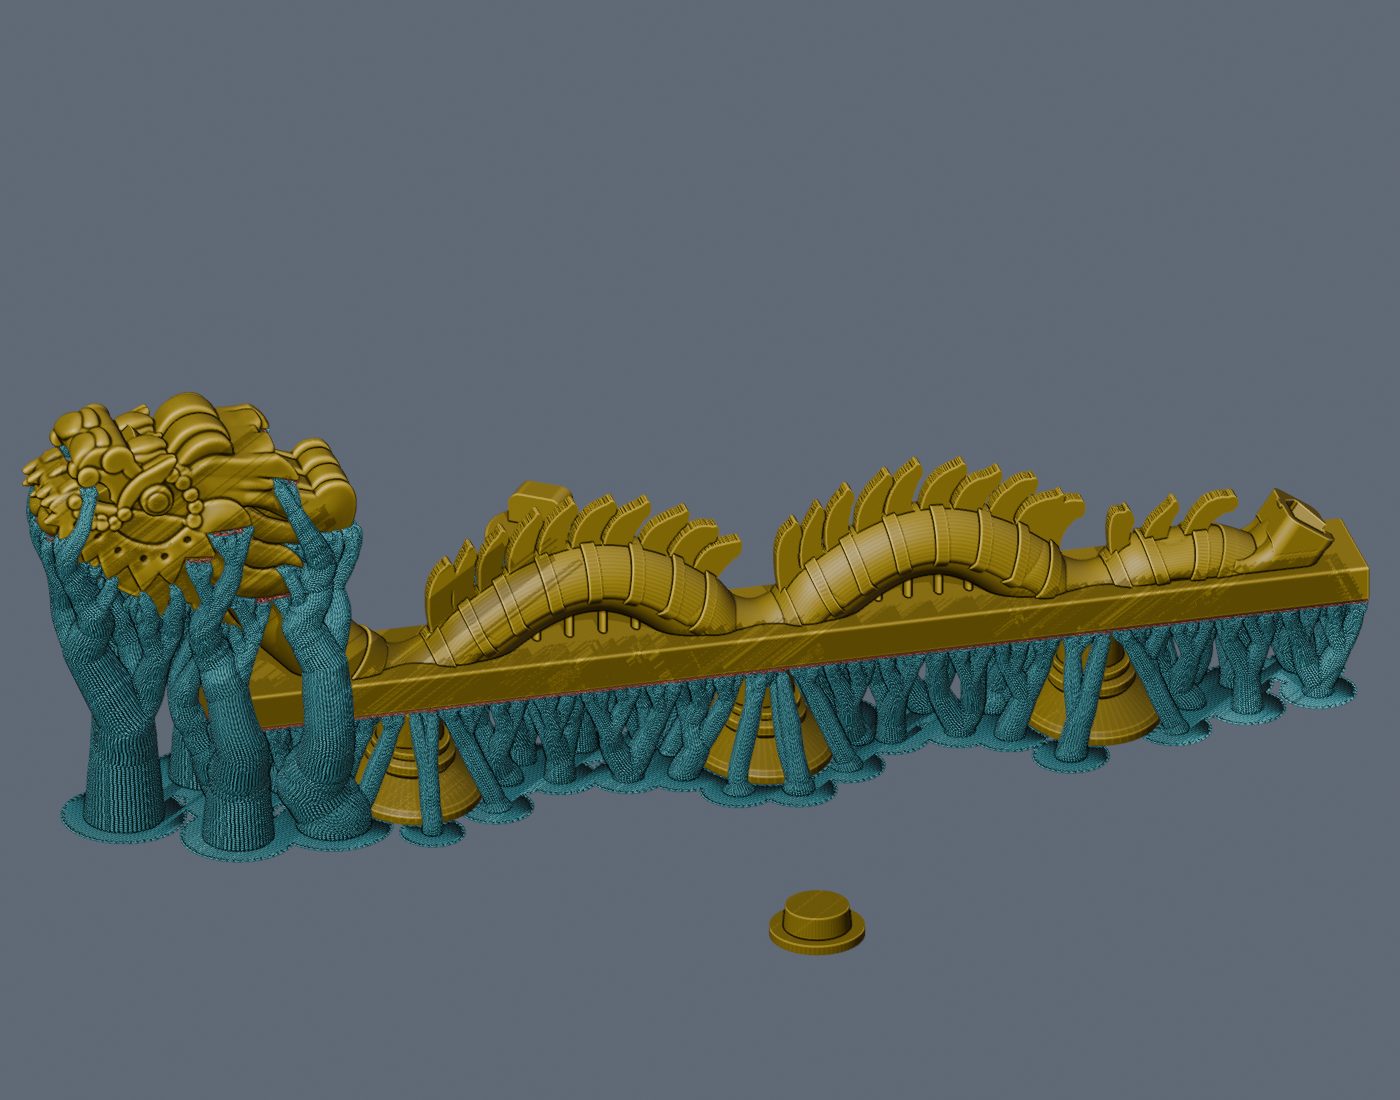
The tube had been printed lying on its side. I wanted the real lamp to print standing on its three feet, so the AI turned it upright. Same dragon, but every ceiling inside now faced a different way, and the supports had to hold up a 30 cm dragon for 17 hours.
Partway through, a cluster of supports fell over.
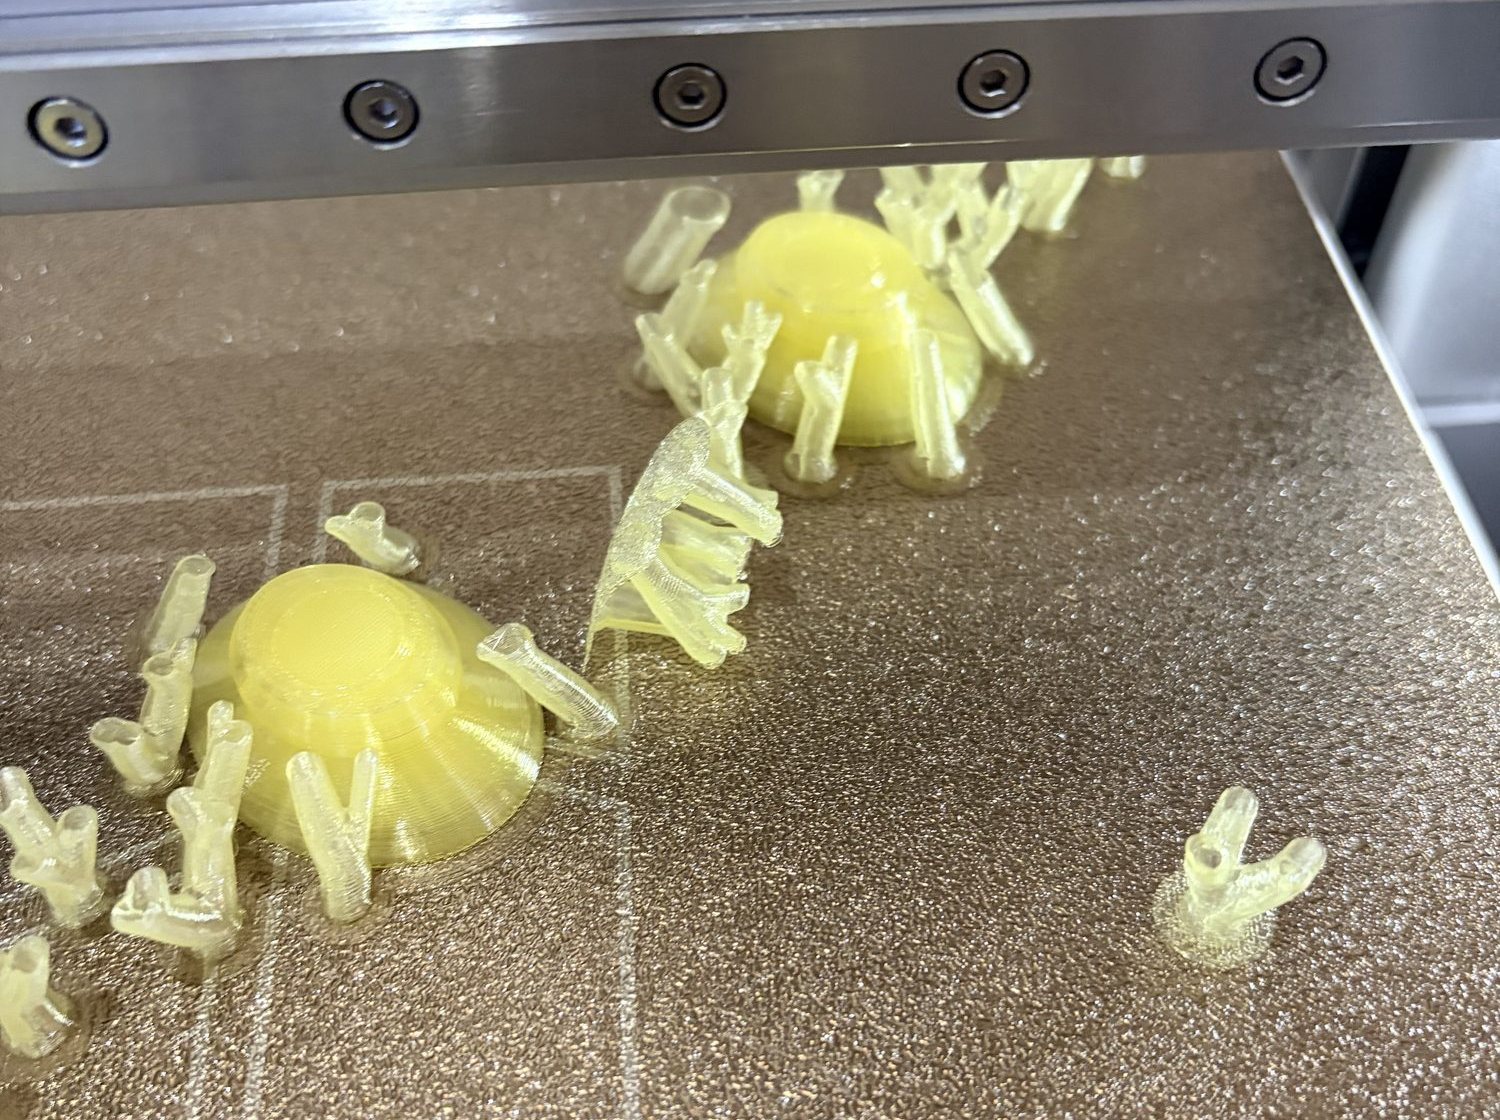
Version 14 made the supports sturdier: branches 3 mm thick instead of 1.6, two walls each, and almost twice as much grip on the bed. The slicer’s estimate jumped to almost 23 hours, and I said no. Version 15 kept the sturdy supports and printed the hidden parts faster:
| Upright, the whole lamp | Print time | Plastic | What happened |
|---|---|---|---|
| Version 13 | 17 h 42 min | 221 g | Supports fell over |
| Version 14 | 22 h 47 min | 240 g | Too slow, never printed |
| Version 15 | 18 h 18 min | 240 g | Printing now |
Where it stands
Both lids are printed. The strip goes through the tunnel. Version 15 has been on the printer since 2 October, about 18 hours from start to finish. What we don’t know yet is everything that only a finished lamp can tell us: whether it prints cleanly standing up, how the light looks through the walls, and how long one lamp really takes.
A closed 3D model, a clean slice, a strip through a test tube and a lamp ready to sell are four different finish lines. Only the last one counts.